If you’ve used Android for a while now, then you must have heard about rooting one way or another. Many people consider rooting risky, but it’s undeniable that it can have many benefits if you know how to root Android phone. Besides, rooting is only risky if you don’t do things correctly. With this article, you’re sure to find out everything you need to know about successfully rooting your phone.
What Is Android Rooting?
On the most basic level, rooting your phone simply gives you complete access to do whatever you want with it. Although you might be in full ownership of your device and data, you probably have limits on what you can do with it. For example, if you’ve purchased a new Android device, there are just some apps you can’t get rid of, as well as some parts of your phone software’s appearance that you can’t change. With root access, you have the power to do anything that you want with your phone. Of course, this gives you unparalleled freedom – as well as a huge responsibility. On a deeper, more technical aspect, rooting involves reactivating a Linux function that was removed as the phone left the factory. This is the SU file, placed somewhere in the Linux-based system of Android. The SU file stands for Switch User, and it’s this file that enables what we call “root access.” So, why exactly was it removed? Two reasons. One, regular users don’t really need it, and it can be dangerous if left enabled. How dangerous? When enabled, users can accidentally delete a critical file and brick their phones. This renders the phone practically useless. Therefore, rooting your phone is a pretty significant process with significant consequences. In the next few sections, I’ll discuss the pros and cons of rooting.
Pros & Cons Of Android Rooting
Before you learn exactly how to root your phone, you first should know the pros and cons so you can weigh them for yourself.
Pros
Granting yourself root access is undeniably risky, but the advantages that you get from it are also not to be underestimated. Here are some of the clear advantages that rooting your phone will give you.
Unparalleled control. As you know, normal users have limits on what they can do with their devices. This much isn’t really that big of a deal for most of us.
However, there are people who want to control every aspect of their Android experience, and rooting is the only way to do this, short of being a software engineer.
Extra storage space. With root access, uninstalling bloatware that comes with your phone is very easy. Depending on what model you have, these manufacturer apps can take up quite a bit of space, so deleting them can give you significant extra storage.
If you’re really strapped for space, root access can even let you store app information on your SD card, as opposed to only your external storage.
Wider choice of apps. An unrooted Android smartphone won’t let you download apps from just anywhere. Apps have to come from an approved channel, such as the Play Store.
While this keeps dangerous apps away, it also means that Google can censor apps they don’t approve of. Plus, rooted phones can run more apps simply because there are many that only run on rooted phones.
Allow usage of root features. Some apps that can function without root will simply work better on a rooted device. For example, if you want to spy on someone’s messages or track their WhatsApp, you need applications such as mSpy, FlexiSPY, or KidsGuard Pro.
These apps can work without root, but their functionality is much more limited than if they had root access.
Changeable operating systems. Rooted phones can let you change operating systems as quickly as you can change your wallpaper. While manufacturers tie you down to one operating system per phone, rooting helps you circumvent these restrictions.Comprehensive backups. Since rooting will give you complete access to your device, this means that you can make an exact backup of your entire Android operating system at the time of creation.
This is in contrast to unrooted Android phones, which will only create copies of a select few information from your phone.
Cons
With all of the potential benefits that you can get from rooting, it almost sounds too good to be true. However, granting yourself root access over your device carries an equal degree of risk. If you’re thinking of rooting your device, I suggest holding off until you’ve read and understood the risks below.
More ways to destroy your phone. This is one of the main disadvantages of rooting. The rooting process is intricate and complicated if you don’t know what you’re doing. Without adequate knowledge, you might go wrong somewhere along the way and end up destroying your phone for good.
Even if you do manage to root your phone, you will still need to be careful. Accidentally touching system files can make your phone malfunction.
Terminated device warranty. Rooting isn’t illegal, but if your mobile device is still protected by a warranty, your manufacturer will declare the warranty void the moment you root your phone.
This is because manufacturers generally don’t want you to root, as they don’t want to be held liable for the potential problems that rooting your phone can bring.
Increased security risks. Rooting your device means that you’re in charge of every aspect of the phone, including security. Granting root access to your device might make it more vulnerable to hacking and malware.
More than that, because you’re not going to rely on the Play Store to download your apps anymore, you might accidentally download malicious apps that can be used to harm your device or steal your personal information. In fact, some malware can pose as rooting software without you knowing anything. Since you have to disable security when rooting your phone, this makes it even riskier.
Disabled high-security apps. Some apps that carry your sensitive information, such as banking and payment apps, will not work on rooted devices.
For your own security, these apps will not function if it thinks your system is compromised, and this can hold you back in your desire to have more freedom with your device.
How To Root Android: Step-By-Step Instructions
Now you know the various advantages and disadvantages of rooting. If you feel that it’s still the solution for you after knowing all the risks, what you need to do now is to learn the proper steps, so you don’t unnecessarily destroy your phone. This section will discuss the right steps to root your Android phone.
Phase 1: Preparation
There are several steps to rooting, but you can’t root your phone without adequate preparation. The first phase includes several things you need to do before you can root your device, especially if you’re doing it on a PC. Securing a backup, turning on USB debugging, installing the SDK platform and device drivers are all necessary steps of how to root your Android phone with a PC.
Backing Up Your Android Device
As you should know by now, rooting is a complex process that is accompanied by many risks. One simple mistake can make you lose all your files, so it’s best to back everything up before beginning the rooting process. There are many ways to backup your phone’s data, but the most straightforward and reliable is through its native backup feature. Follow the steps below.
Enable USB Debugging
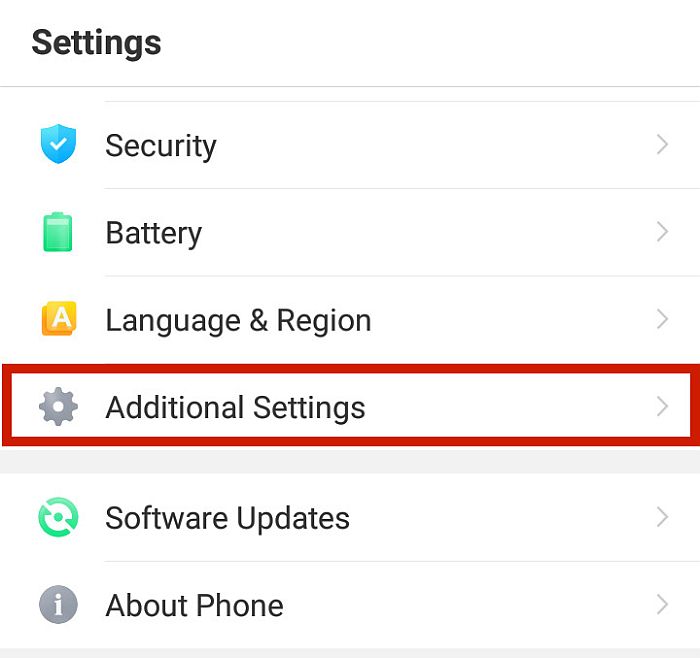
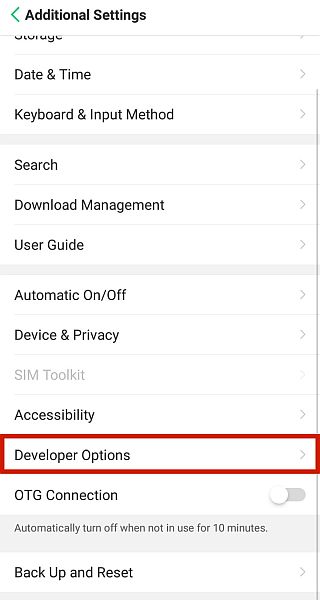
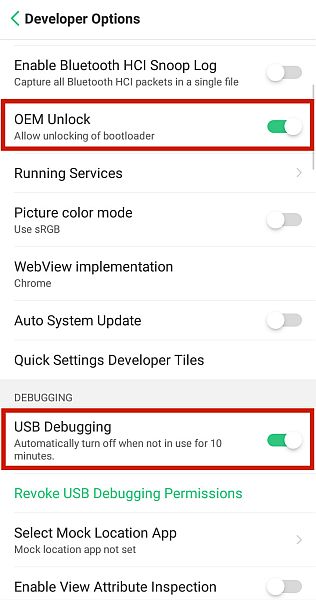
There are certain options in your phone which have to be enabled before you can modify it for rooting. For this process, you need to turn on the USB debug and OEM unlocking options. Follow the steps below. Keep in mind, though, that only your phone’s internal storage will be backed up. Unless you have third-party backup software, you will have to manually backup your SD card’s data yourself.
Install Android SDK Platform Tools
Not all rooting methods will need you to connect your Android to your PC. Tap the Version precisely seven (7) times to activate Developer Options for the device. This will reveal other options that allow you to modify your phone enough for rooting purposes. However, some of the most common Android rooting methods require that you plug in your phone to your PC and run specific commands via your PC. If your phone needs this particular rooting method, you need Google’s Android Software Development Kit to modify anything in your phone. The SDK is a set of tools that you install on your computer to help you perform some core functions of the process of rooting. This SDK will be needed later if you use the more technical rooting methods. To successfully download the SDK, follow the instructions below.
Installing Device Drivers
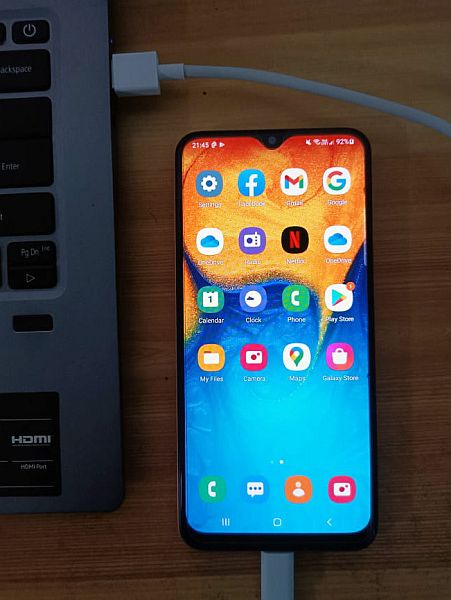
Your phone needs to communicate with your PC, and to do that, you must have the proper drivers installed. Your device’s USB drivers will allow it to communicate with your PC, allowing you to input commands from your PC. Phone drivers will automatically install when you plug your phone into your PC with the right USB cable. If your phone doesn’t automatically install its drivers, there might be something wrong with it. Nevertheless, you can still manually install your own device’s USB drivers from the manufacturer’s website. Simply search for it on Google.
Phase 2: Installing The Needed Android Tools
In this stage, you’re finally going to download the necessary components for rooting your Android phone.
Setting Up ADB & Fastboot Tool
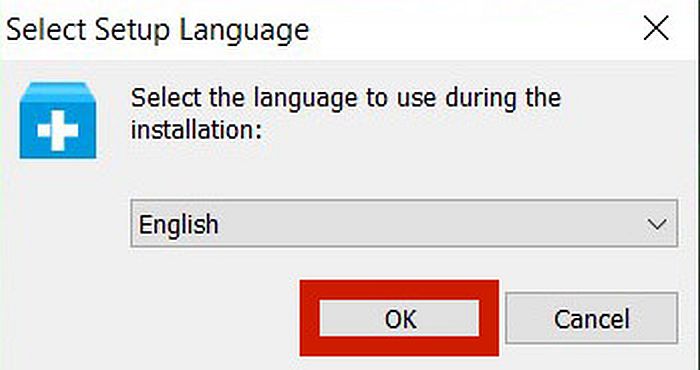
ADB stands for Android Debug Bridge, and it’s sort of the command line you use to communicate with your USB Debug-enabled Android device. The concept can sound incredibly technical, but thankfully, the execution is simple enough. All you need is the previously-downloaded Android SDK Platform Tools. Once you have that saved on your PC, you need to set up the ADB files and make sure it’s compatible with your phone. Before you begin, make sure that your phone already has developer options, USB Debugging, and OEM unlocking enabled. Lastly, keep in mind that this tutorial is for Windows devices.
Flashing TWRP Recovery
TWRP Recovery is a third-party recovery image. Simply put, your phone has a recovery mode that allows you to access the phone’s inner workings easily, much like recovery mode on a PC. However, this won’t let you root your phone. You need a customized recovery mode that will let you do so, which is what TWRP is for. In this section, you’re going to install, also known as “flash,” TWRP custom image recovery to your device. Flashing means that you’re going to install the file directly, using commands from your PC. With this in mind, keep your phone plugged into your computer and follow the steps below. You can also refer to the YouTube video below.
SuperSU Root
Once you have TWRP installed, all you need to do is install your rooting client. The SuperSU app will grant you root access over your device, but although you can download it at the Playstore, you can’t root your phone unless you flash it through TWRP. In this section, we’re going to learn how to flash the SuperSU app to root your device using TWRP. For clearer step-by-step instructions, you can also refer to the YouTube tutorial below. The method to boot to recovery mode varies for every device, but generally, it involves pressing and holding the power button and volume button for five seconds.
Tools & Apps To Root Your Android Phone
The most reliable way to root your phone is with TWRP and SuperSU. However, the process can be pretty confusing and daunting, especially for beginners. Thankfully, one of the things that makes Android a great operating system is the open community that surrounds it. Because of the difficulty of traditional rooting, some developers have created one-click rooting tools that are much easier to use. In the next section, I will go through the best rooting tools for Android.
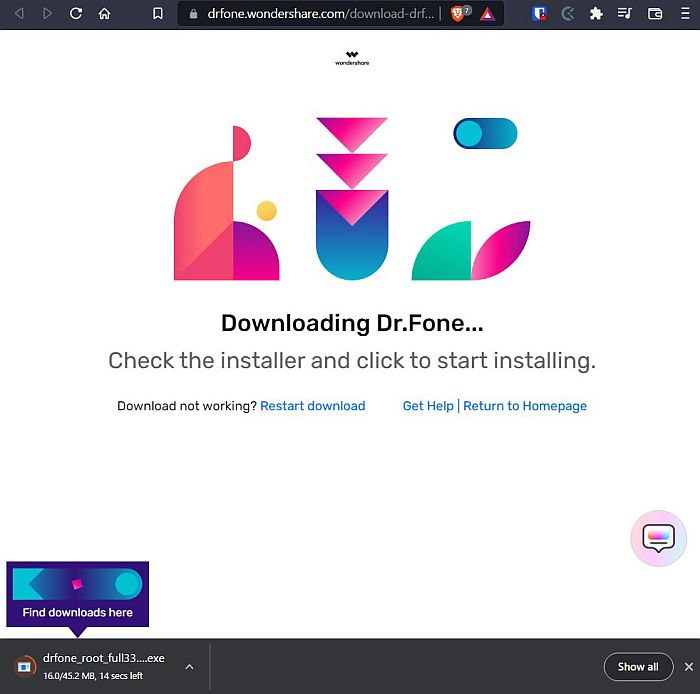
Dr.Fone Root
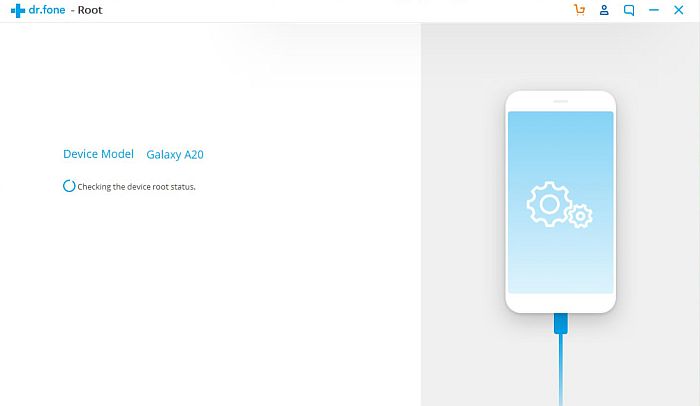
Dr.Fone Root is one of the most trusted tools in the market. It covers a wide range of accepted devices, and you can check whether that includes yours in this list. More than that, it also offers an easy alternative to the TWRP solution. With Dr.Fone Root, all you have to do is click some buttons, and you can root Android phone without PC – all for free! Plus, there’s a lower risk of bricking your phone since you won’t have to touch your phone’s bootloader. Check out how you can use this app in the instructions below. You can also take a look at this video if you’re having a hard time following the instructions.
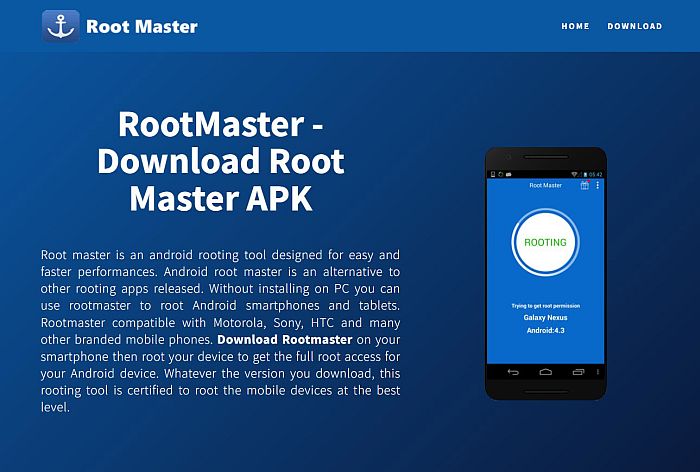
Root Master
Root Master is another alternative rooting system that allows you to root your device with just one tap. It’s available in two versions: PC and mobile. If you want to know how to root an Android phone with PC, it’s actually pretty straightforward with Root Master. You just have to install the file on your PC, attach your device, and then root via the PC. On the other hand, the mobile version only requires installing the APK file and then running the root from the phone itself. Since the mobile phone method is more convenient, as well as relatively safer since you don’t have to access the bootloader, that’s what I’m going to discuss below. You can also refer to the YouTube tutorial below for a visual guide of the steps. In the video, the tester downloaded the .apk file to the PC first and then transferred it to their device by USB. There is no difference between downloading it to your device directly and downloading it through your PC.
iRoot
iRoot is another one-click rooting solution that allows you to easily root your phone compared to traditional methods. It has comprehensive brand coverage, including Google, HTC, and Samsung devices. Using one-tap rooting methods will also help you avoid bricking your devices because you won’t directly access your device’s bootloader. You can also see the complete tutorial from the YouTube video below.
Magisk
Along with SuperSU, Magisk remains one of the most popular and reliable rooting methods. Just like SuperSU, Magisk is also flashed into your system using a custom recovery image, like TWRP, if it is compatible with your device. Now that you know how to root your phone with SuperSU, rooting it with Magisk is also easy. Follow the instructions below: There is also a step-by-step YouTube tutorial on installing Magisk below if you want to see the actual installation process. The custom recovery used there is Orange Fox, but the process is the same as TWRP.
SuperSu Root
SuperSU Root is one of the most reliable methods of rooting around. However, it’s also one of the most complex. Installing SuperSU will need access to both a mobile device and a PC. The mobile device will need to have developer options enabled and OEM unlocked. On the PC, you need to download ADB software to communicate with your device. You will then need to link your device to your PC, unlock your device’s fastboot, install TWRP or some other custom recovery, and then flash SuperSU to your Android. The entire process is documented in the Installing The Needed Android Tools section. You can also follow the YouTube tutorial below if you want a visual guide.
How To Root Android Phone: In Conclusion
Rooting your Android device is admittedly a complicated and somewhat risky task. However, if you want more freedom and control over your phone, the rewards are worth it. One of the main advantages of Android is the fact that it’s more customizable and open-source than iPhone. Rooting your phone simply extends that capability. As long as you follow the procedures I laid out on how to root Android devices, you can root your device very easily. Did you like this article? Let me know what you think in the comments below! Save my name, email, and website in this browser for the next time I comment. Notify me of follow-up comments via e-mail.
Δ